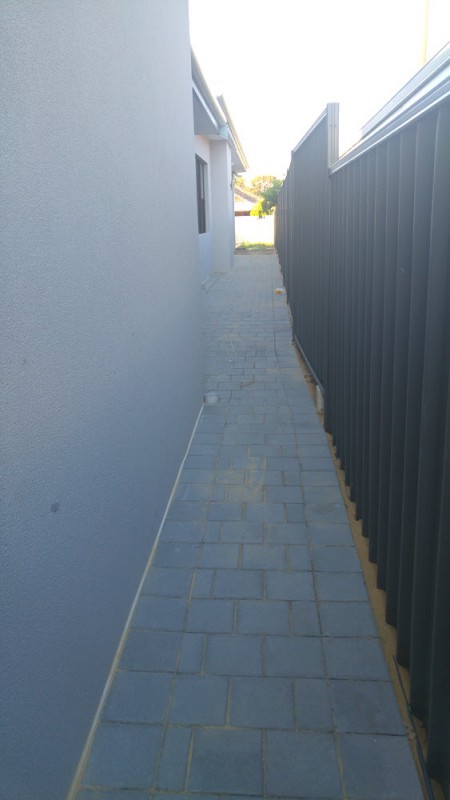
One of the more banal sides of building is purely functional exterior paving. Which is the “look” we’ve gone for along the north-east side of the house, which will “feature” a clothesline and dog-washing station. I wasn’t expecting to get excited much by this, but when they started work on it late last week I did get a little thrill to find that our chosen colour seemed to work perfectly with the colour of the render. Yay for grey. The pavers we used were Brikmakers Vistapave 50 in Grey.
The other thing that I got excited about was seeing how the thermal breaks were put in. A thermal break is effectively another form of insulation. Using it between the paving and the house prevents the heat absorbed by the paving from being transferred to the concrete slab that the house sits on. This means that the slab won’t heat up as much in summer, which in turn means that the house won’t heat up as much.
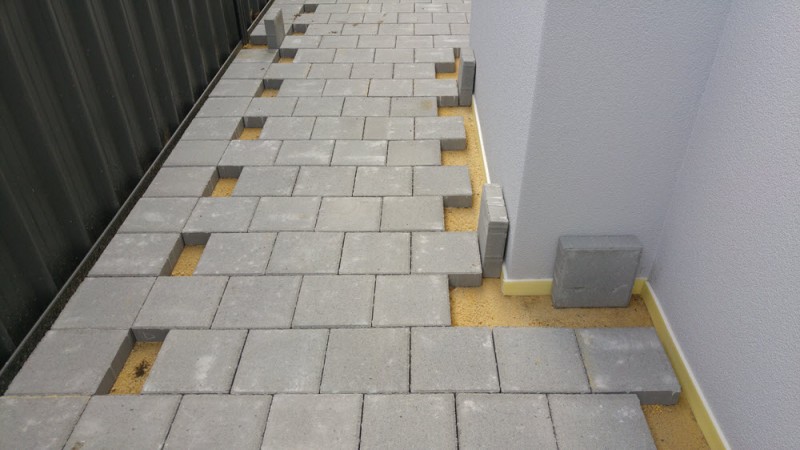
The key property of the thermal break is its non-conductivity. It doesn’t allow heat transfer. You don’t need to use anything fancy here, all they’ve used is a high-density foam, and it’s placed between the pavers and the wall.
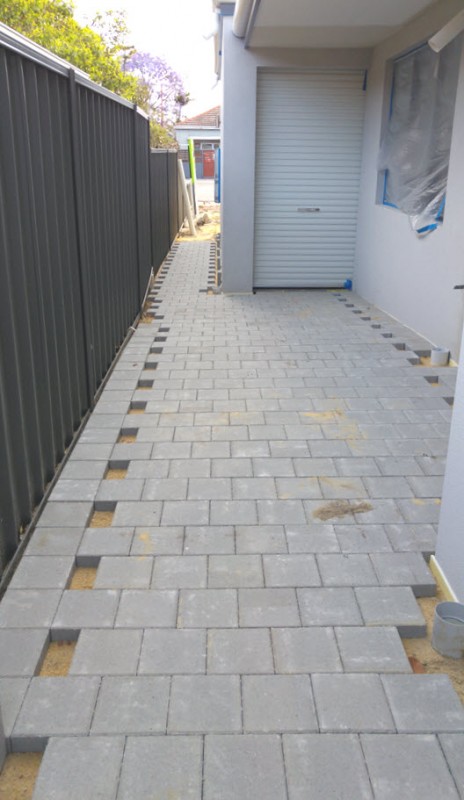
We *should* have also done it for the alfresco, but it wasn’t specced so we forgot about it. Hopefully it won’t be too big a deal, as we should be able to find other ways of keeping the sun off that.
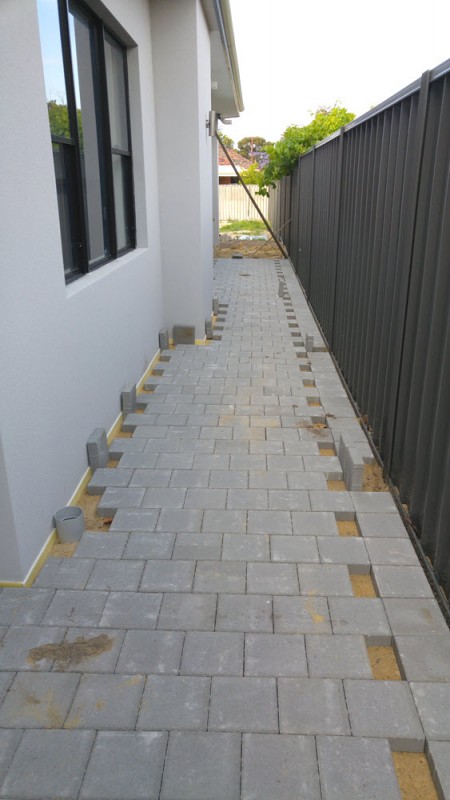
So the paving is basically finished. The job looks OK, it’s hard to get excited about it as it’s just paving. I’m a little disappointed that they used yellow sand to fill the gaps rather than white, and there are slivers of pavers everywhere, but as I said, it’s just paving and we have other things we care about more. It feels great to be able to walk on solid ground though!
View towards the front:
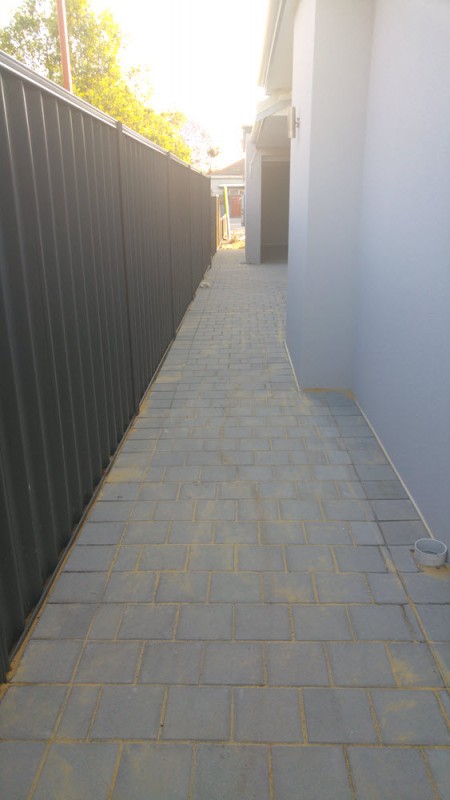
View towards the back:




Very clever. I might have to use that idea when we do our side path to clothesline etc.
It’s stupidly simple, I don’t know why it’s not standard. The builders left a roll of the stuff inside the house, I should take a photo. Unfortunately there was no label though.